What you need before you start
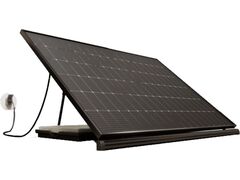
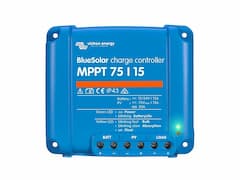
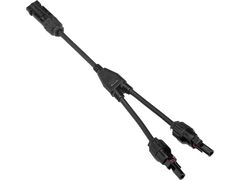
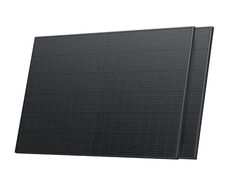
A complete solar kit generally includes four parts: one or more panels (with MC4 cables already crimped on), an MPPT or PWM charge controller (or a micro-inverter for a grid-tied balcony kit), a storage battery if the kit is stand-alone, and a fuse or breaker between the controller and the battery.
How to install a solar kit, step by step
The connection order matters as much as the connections themselves: a controller that receives current from the panel before it's wired to a battery can be damaged, having no voltage reference to regulate the charge.
- 1. Mount the solar panel. On a van roof, a pergola or a portable stand, ideally facing due south with a tilt close to your latitude for year-round fixed use, or simply laid flat for a portable kit.
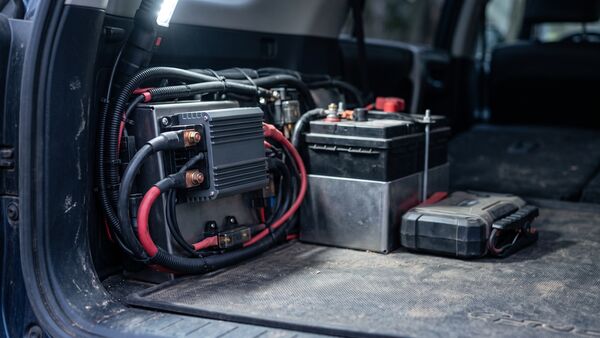
- 2. Connect the controller to the battery first. Wire the controller's + and - terminals to the battery through the protection fuse, with the panel still disconnected. The controller powers up and detects the battery.
- 3. Then connect the panel to the controller. Click the panel's MC4 connectors into the controller's solar input: the charging light should come on if there's enough sunlight.
- 4. Check the charging voltage and current. Most modern controllers display these figures on a screen or via a Bluetooth app, to compare against the panel's specifications and confirm everything's working normally.
- 5. Secure and protect the wiring. Fix the cables away from friction and prolonged UV exposure, and check the seal on any cable run through a wall or roof.
Balcony plug-and-play kit or portable kit: what changes at install
A balcony solar kit (often called 'plug-and-play') connects directly to the home's mains supply through a micro-inverter and a standard socket, with no battery step: the energy produced is used directly or fed back, with no storage stage to manage. Installation is limited to mounting the panel, wiring the micro-inverter, and plugging it in.
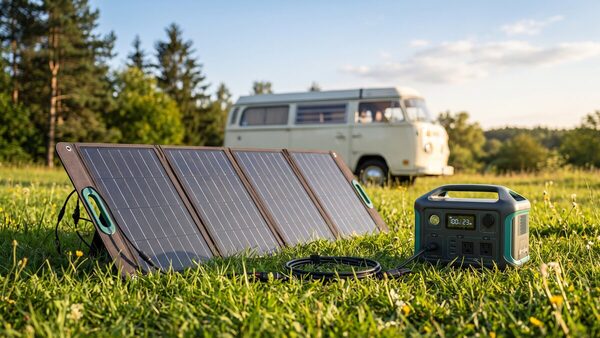
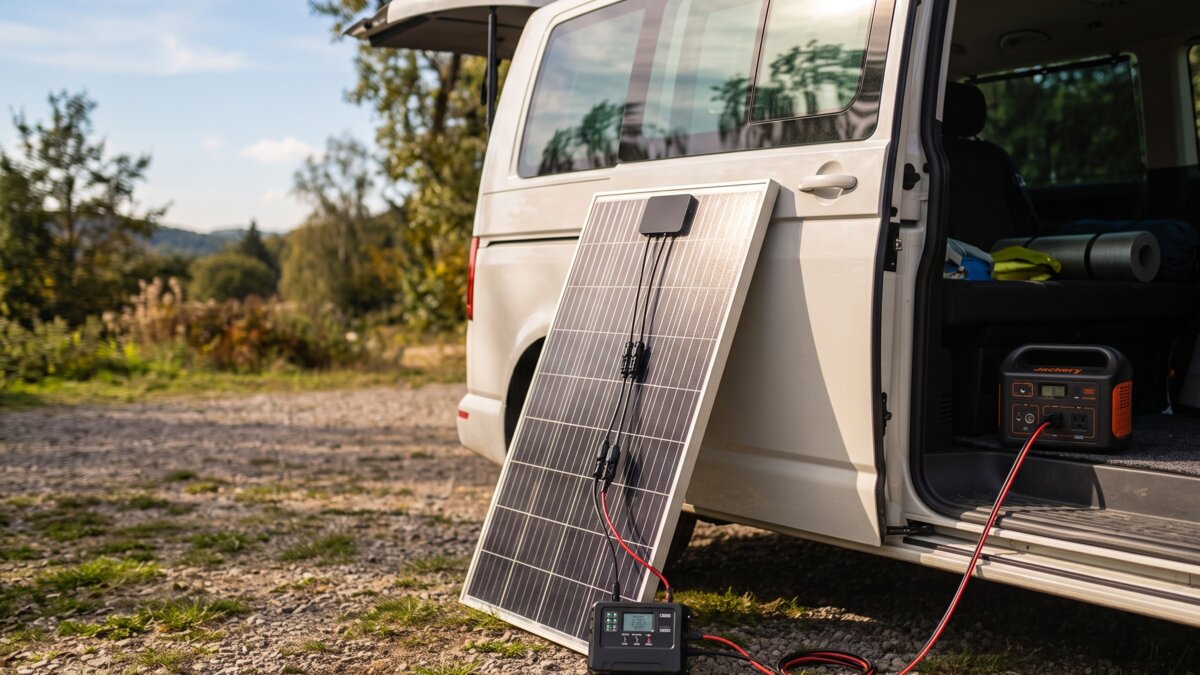
A portable kit (van, camper, off-grid camping) runs as a closed circuit with a battery: it's the controller-then-panel sequence detailed above that applies, plus the choice of the right controller (MPPT outperforms PWM, especially above 100 W of panel capacity) based on the battery's voltage.
The connections you should never reverse
On screw terminals (battery, some entry-level controllers), always double-check polarity before tightening: unlike MC4 connectors, nothing physically prevents a reversal there. A correctly sized protection fuse between the controller and the battery limits the damage from a mistake, but doesn't replace care at connection time.
How do you check a solar installation is working correctly?
A multimeter across the battery terminals should read a charging voltage slightly above its resting voltage while the panel is producing (roughly 14 to 14.4 V for a 12 V lead-acid battery on charge, a bit more for lithium depending on the charge profile). The controller's screen or app, where available, shows the panel's real-time output directly, to compare against its rated power adjusted for current sunlight.
Noticeably lower output than expected in full sun usually points to an orientation issue, a loosely seated connector, or partial shading on the panel, often a bigger hit than expected on panels without bypass diodes.